So it started out simple enough…
Bought a ham radio and needed a place to put an antenna. Should be a fairly simple day on the roof right? WRONG!
*** A note before starting: This is a long read ***
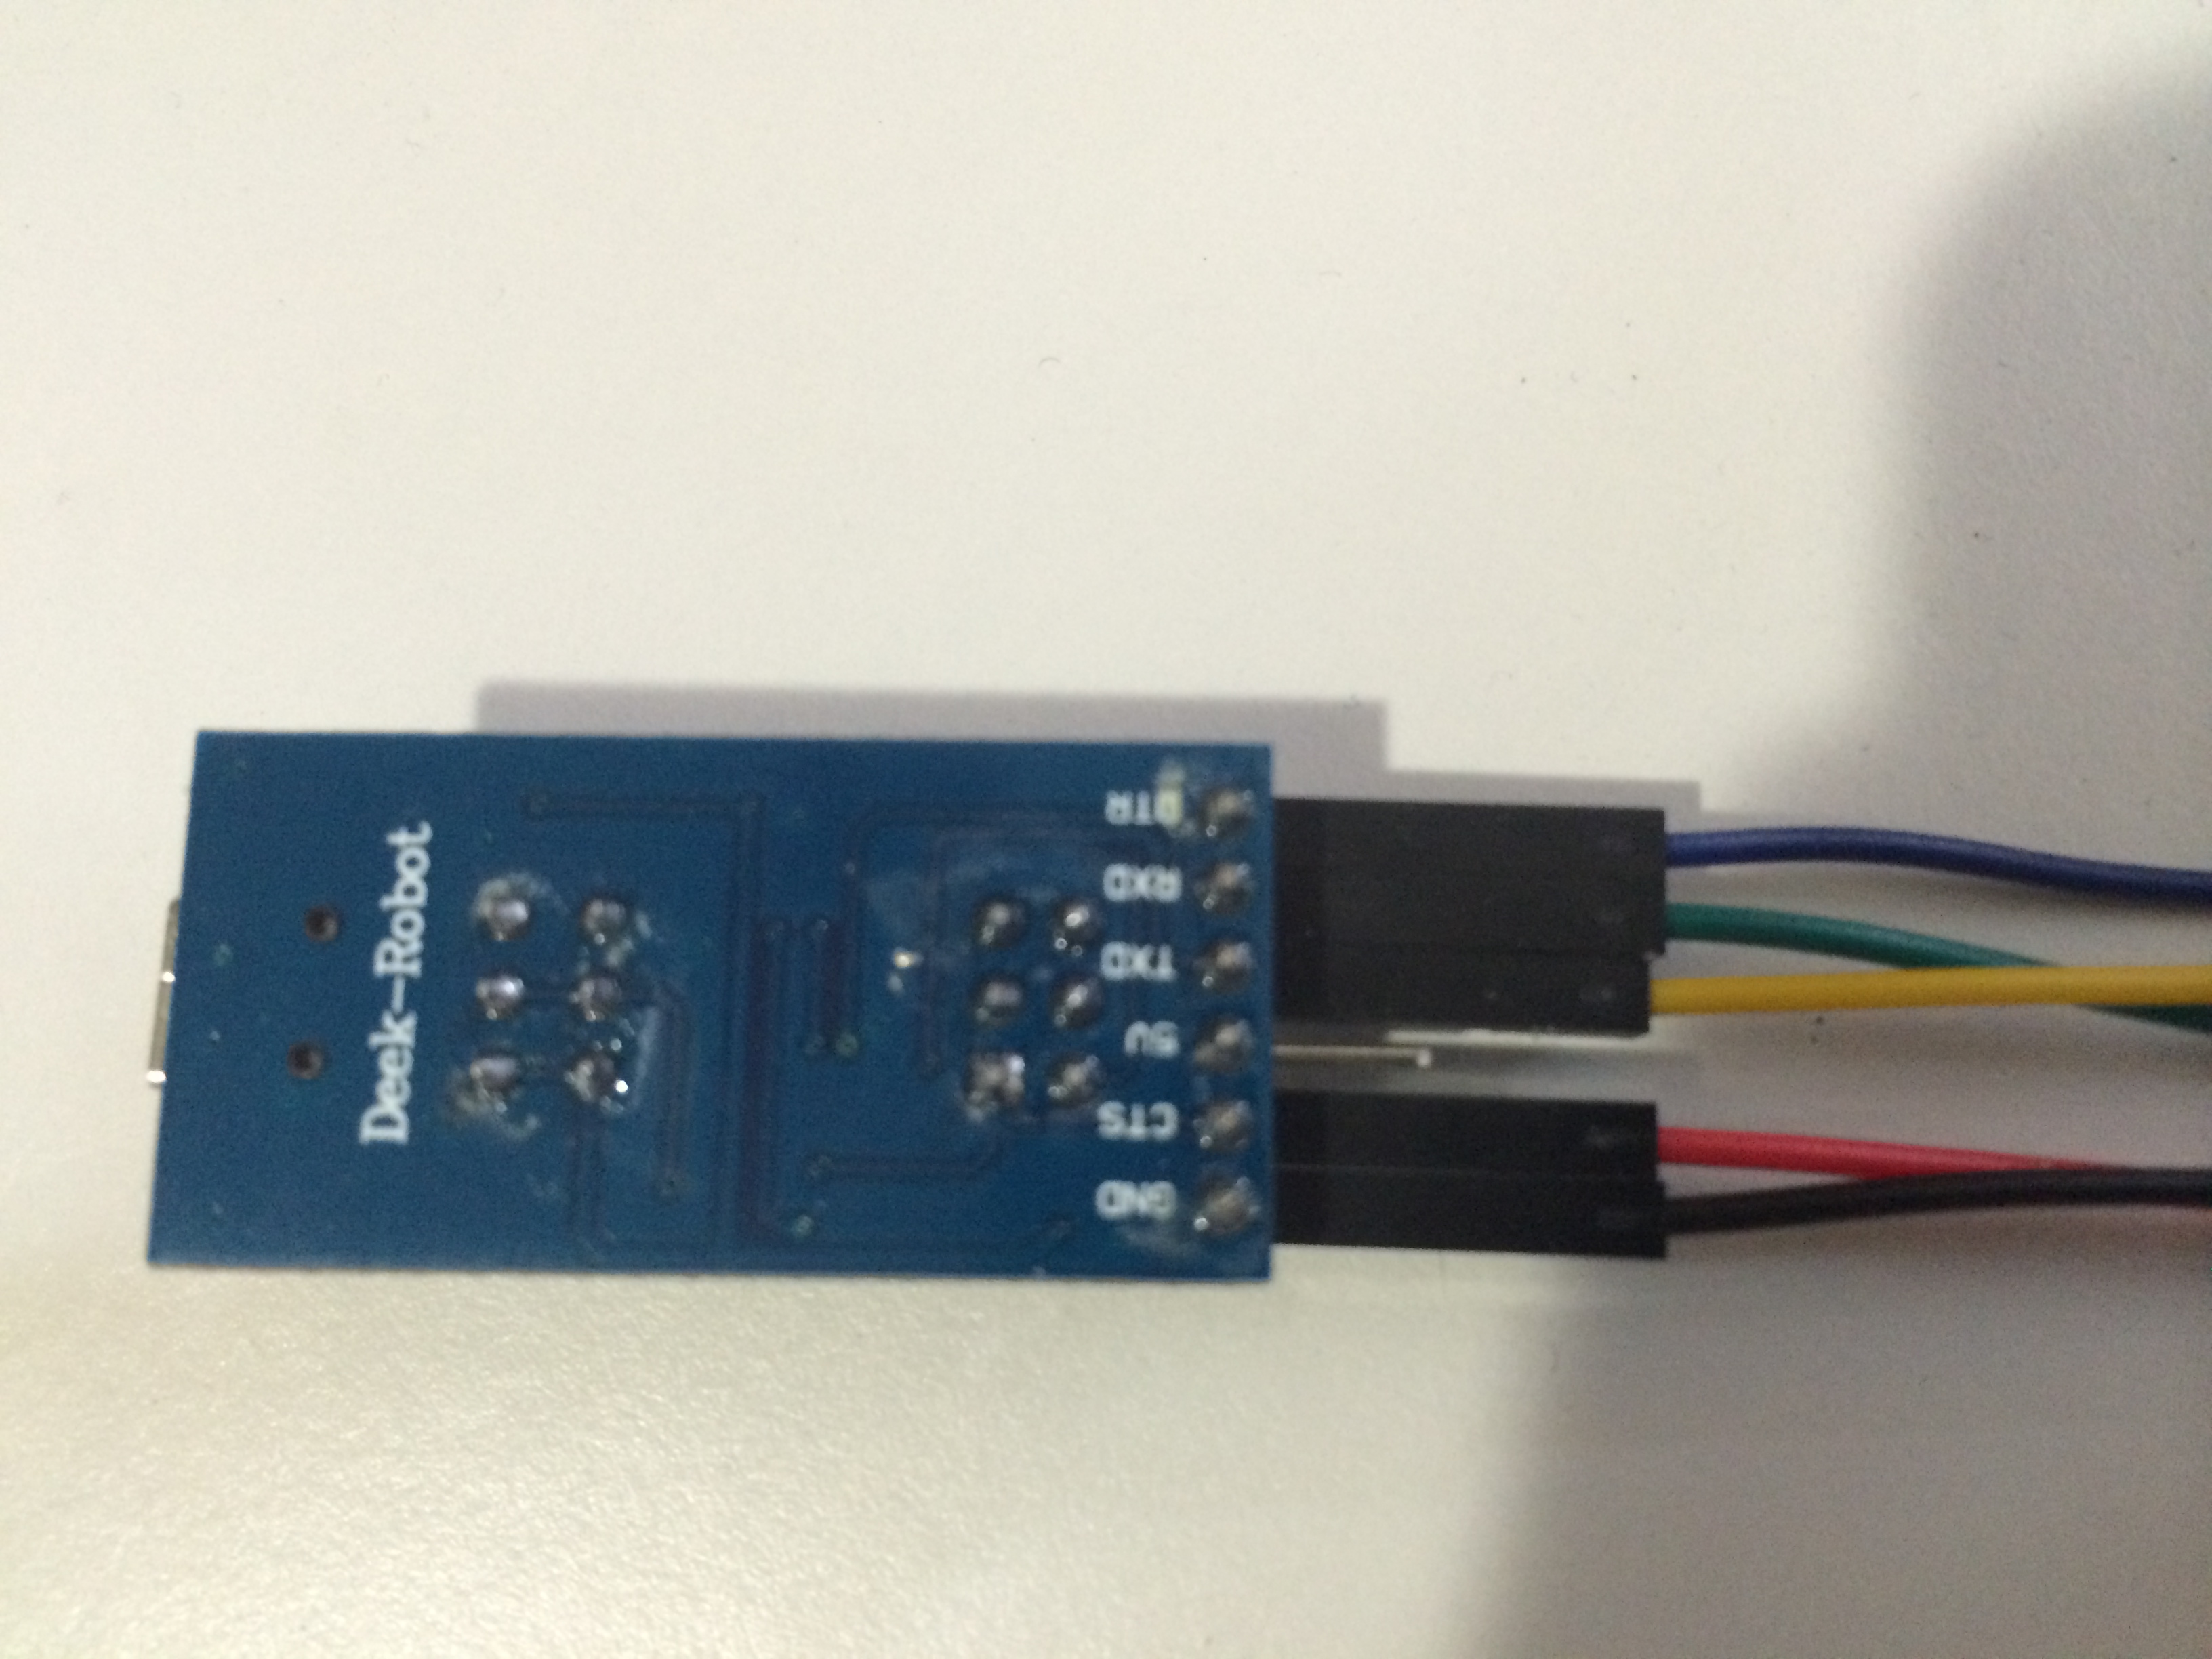
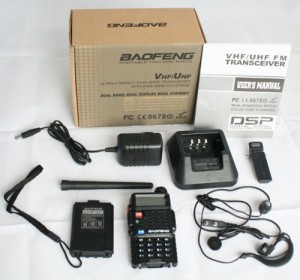
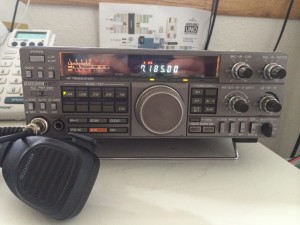
So let’s back up a month or so… I bought a radio (two actually) on Amazon. One was a TYT TH-9800 Quad Band mobile (review to come), the other was the classic Baofeng (now Pofung) BF-8F+ HT (review also to come). I also bought a quad band mobile antenna (generic). Now this is where the problems begin.
I figured the simplest solution would be to by a tripod and a few mast sections and place the antenna on my roof. I called the City to see if there were any restrictions or permit requirements before hand and was told there were only two restrictions:
- If the antenna was mounted on the roof of my house (our peak is at 22′) the tip of the antenna could not be more than 15′ above the peak.
- If the antenna was mounted to a free standing structure in the yard it had to be less than 60′ at the tip.
I was a little confused by the mental gymnastics required to understand why I could build a 60′ tall structure in my yard with no permit and no inspection, but could not securely bolt a tripod and a few mast sections to my firmly planted house. After acquiring a headache trying … I gave up and decided I would just have to build something.
Plan A:
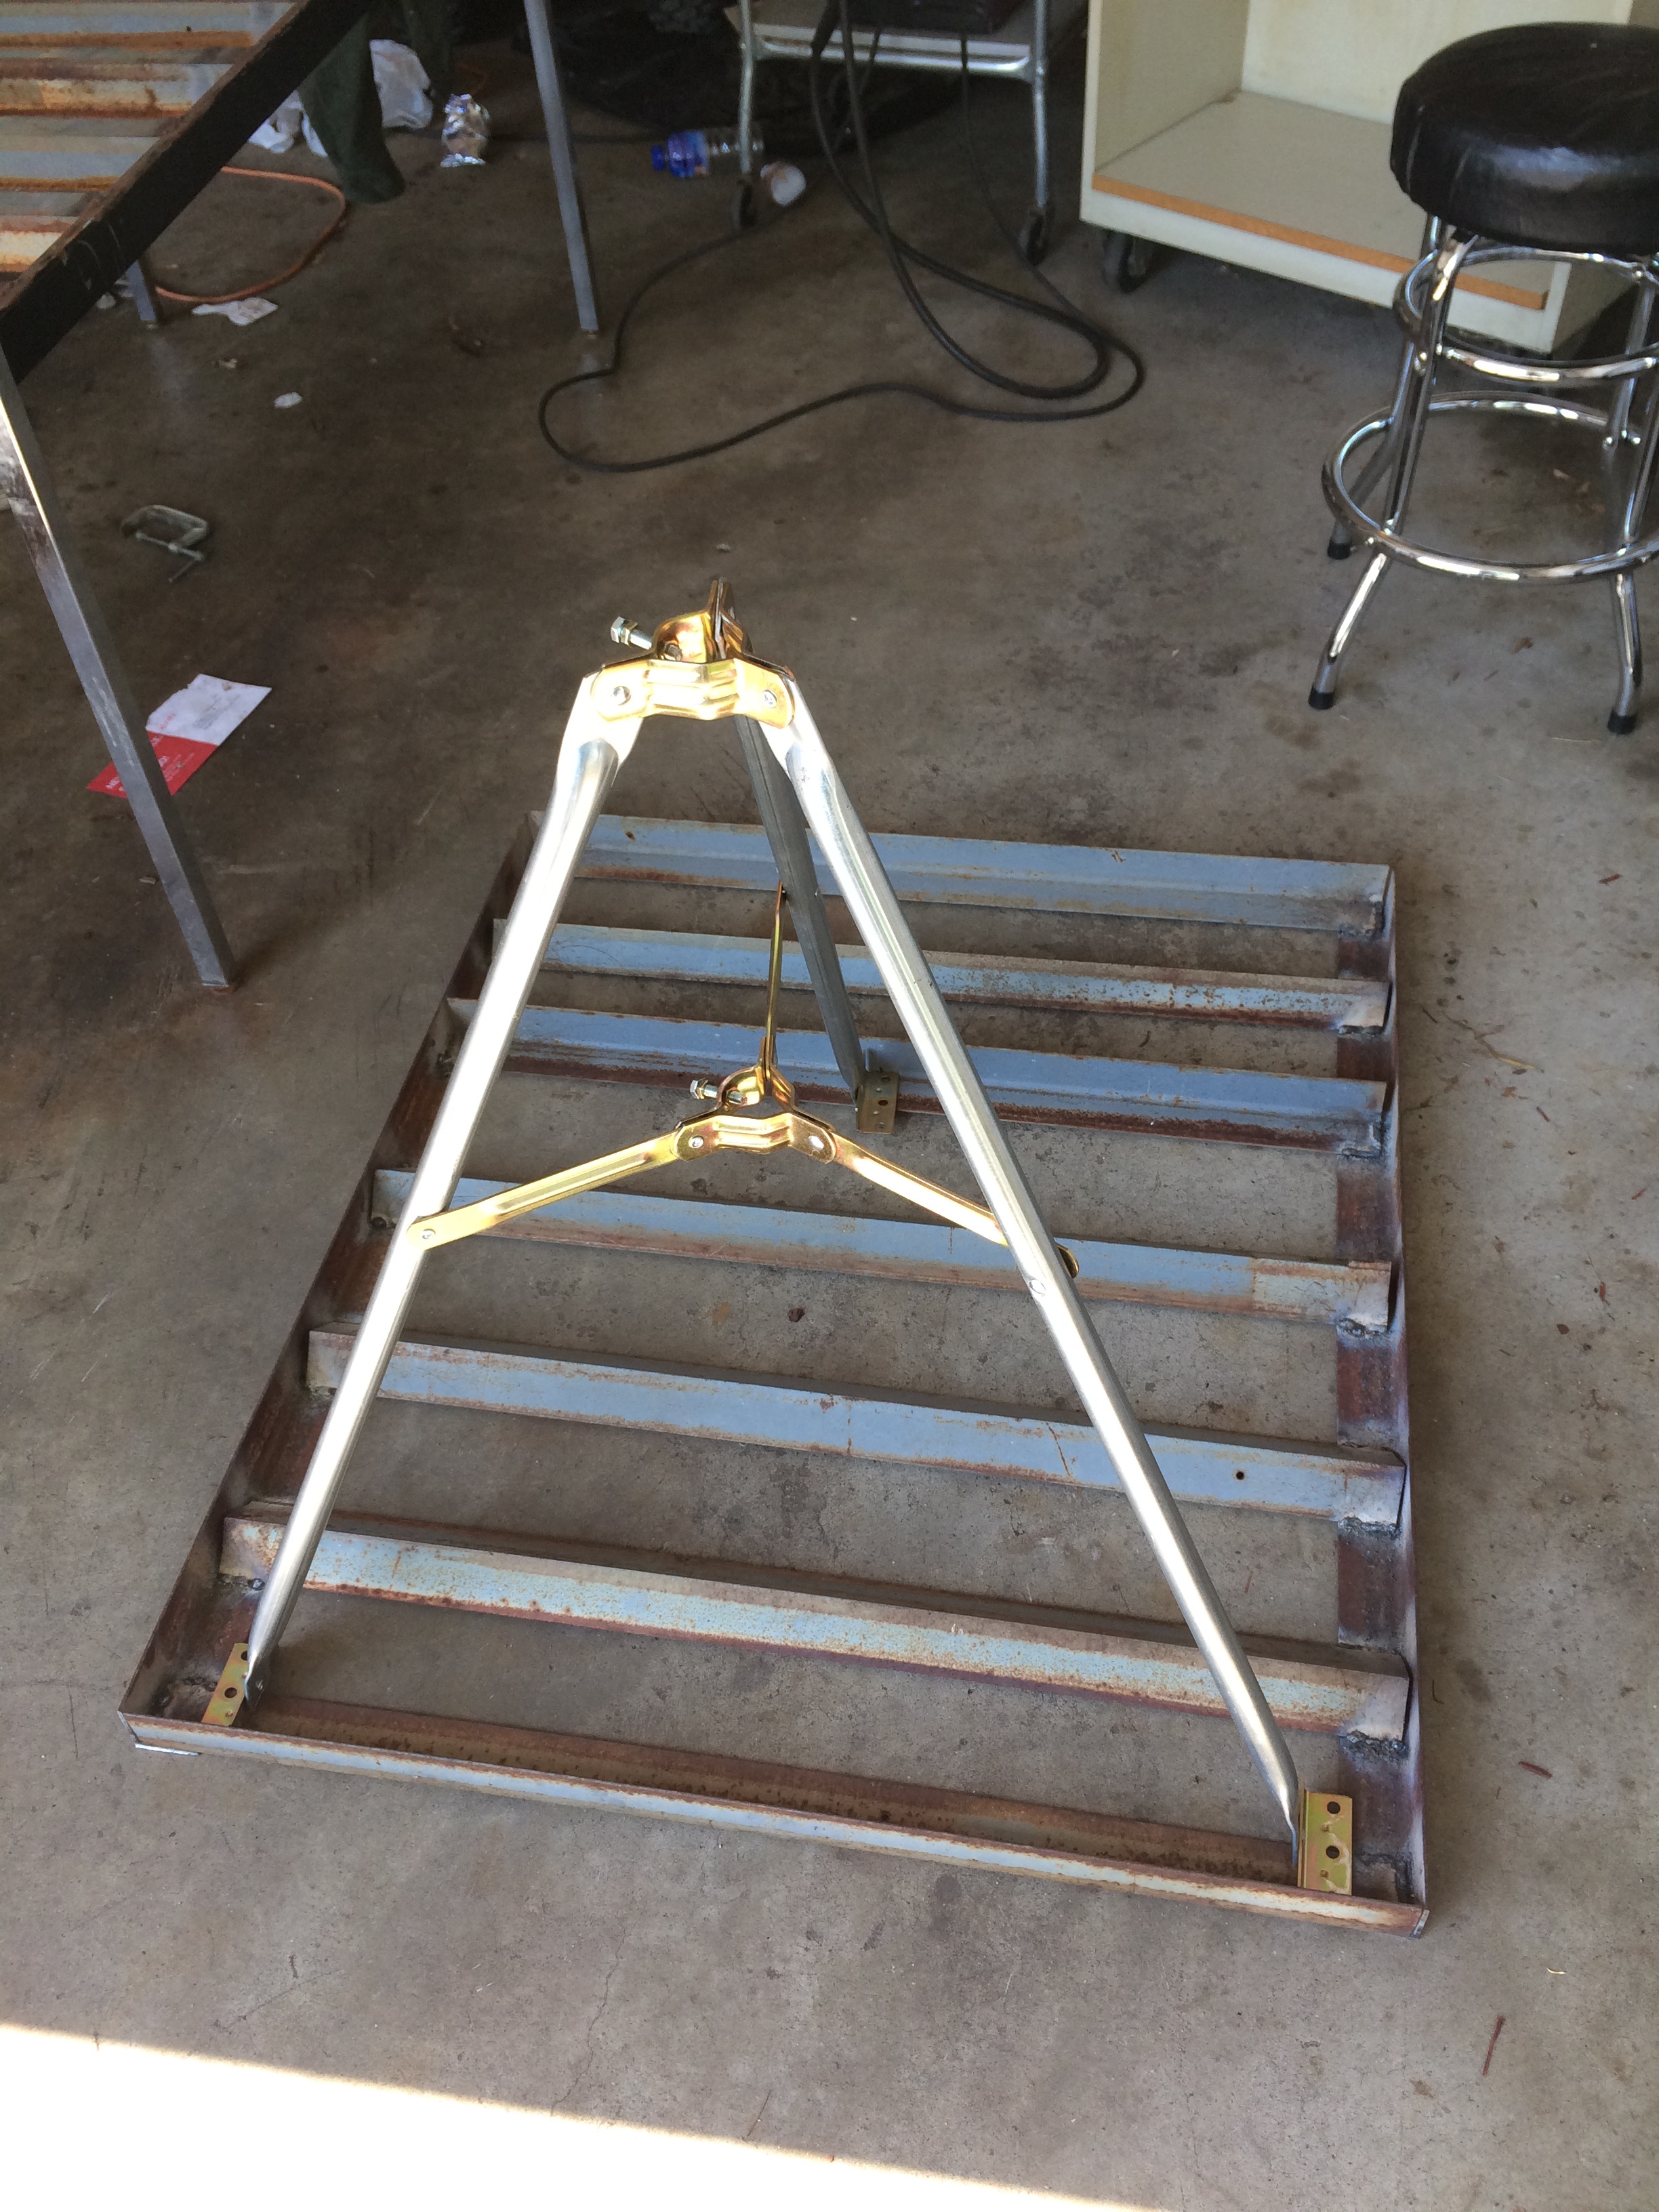
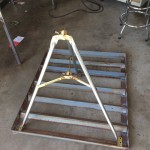
The plan was that I would still buy the tripod as well as 10 53″ mast sections and I would weld together a base for the tripod to sit on the ground. I would secure the masts with a couple guy wires and also attach to the peak of my garage (because for some reason this is acceptable, I checked). The job started out as planned, purchase, assemble and then came time to raise the masts…
While trying to tip 42 feet of antenna mast into an upright position, the inevitable happened, it buckled under it’s own weight. Luckily, we were able to cut off about 10′ and get the rest of it raised.


Almost immediately I was I was beaming with pride … moments later I took an honest look at what I had done and hung my head in shame. How the hell could I leave this monstrosity of wet noodle like metal up in the air? How could I show this to anyone and expect anything more than pity … I was at a loss but determined to rebuild this, and this time… much better!
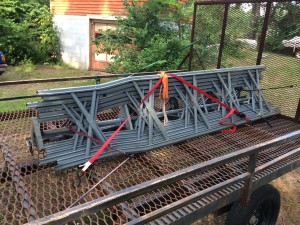
I spent about a week drafting, designing, ripping up and doing more drafting and designing… then it came it to me… I know what you’re thinking, an idea right? Wrong! A new ham radio post notification on my craigslist app 🙂 it was for a 48′ Rohn AX tower for only $175!!! The only hitch… I had to drive an hour and a half each way to get it.
Plan B:
The idea was to go pickup this free standing 48′ tower which was complete with hardware and bolt it up on the previous base I had built and done. Simple right? FOR FUCK’S SAKE WRONG AGAIN!!! After acquiring the tower I did my research (I know, I know, I should have done this first, but what’s the fun in that!) and discovered that I should have a 3′ x 3′ x 3′ CONCRETE FUCKING BRICK in the ground!?!? … ok, ok, I’ll just dig a hole, buy some concrete mix and we’ll be good. 🙂 … WAIT, I don’t want to climb this thing so I’m going to weld together a tilt plate for it also! BRILLIANT!
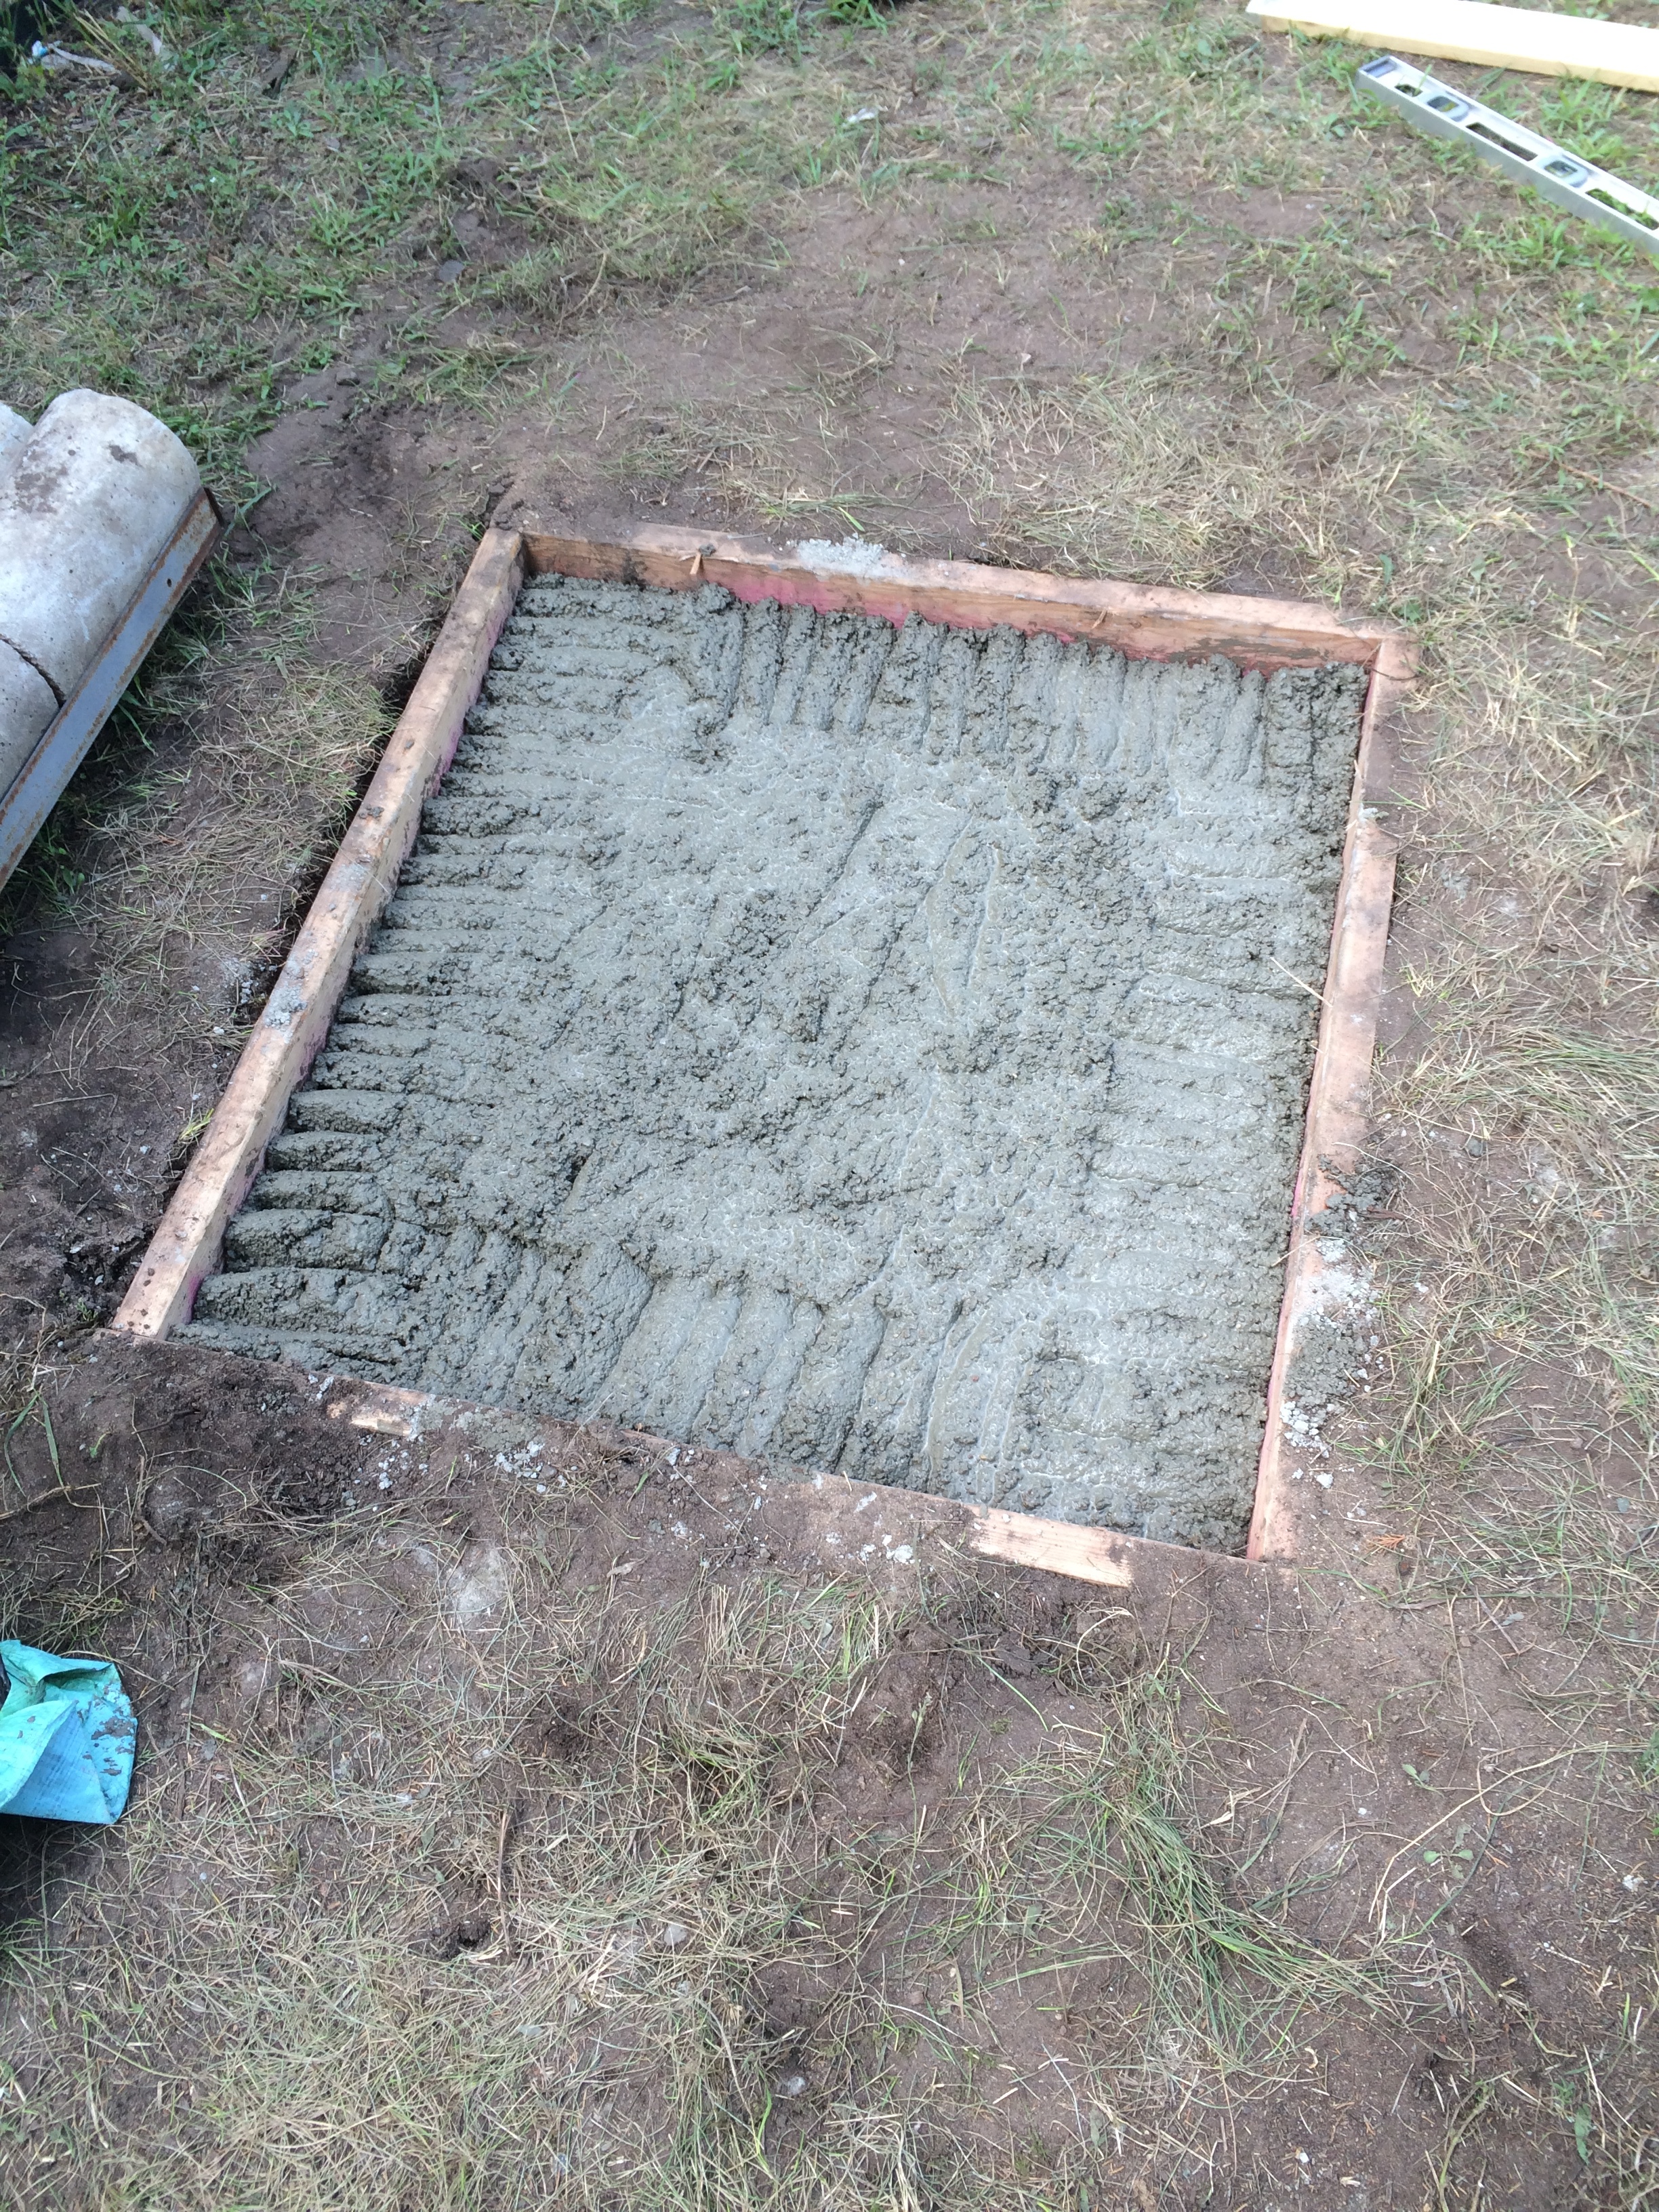
Plan B.1 The cememt
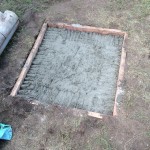
After figuring out that I can go to home depot and pickup 80# bags of Quikrete for only $3.75, I hook up the trailer and head out. I decided that with all those concrete cylinders I have (see above pic) I probably only need about 1/2 cubic yard of Quikrete which is only what … TWENTY-FIVE $%@#$ BAGS!?!? Man good thing these are only $3.75 each!
Next I did the quick math, 25 80# bags is 2,000 lbs. I’m not sure what the axel rating on my trailer is but I do believe I will pushing it a bit but oh well, I head out to home depot anyway. Once there I ask a guy if he can bring me a pallet up to loading minus 10 bags (there are 35 80# bags on a pallet) and he writes a slip of paper to bring to checkout so I can pay for it. About 20 minutes later the loading doors open and here comes my pallet!
The forklift driver lifts and centers the pallet and lowers it slowly onto my trailer and I watch in amazement as my partially filled tires (never filled them up after the winter) slowly squish down to the rims. So, after many apologies, the pallet is lifted back up off the trailer and brought inside to wait for me to return after filling the tires with air.
After about 5 minutes I return and wait once again for about 20 minutes until once again, the loading bay doors open. Out comes the pallet, down go the tires with about an inch and a half to the rim. It’ll be ok I tell myself, I’ll just drive slowly.
Fortunately, the drive home was uneventful except for the trailer making some eerie sounds. Once home I realize I am going to have to unload quite a few of these bags to be able to disconnect the trailer. This is when I notice, I am LUCKY to have made it home at all! Apparently the guy at home depot was lazy and didn’t want to unload the 10 extra bags, there on the pallet sat ALL 35 bags, 2,800 lbs. total. I still cannot believe the trailer didn’t buckle!
Plan B.2 – The hole and the tilt plate


Dig a hole I thought, hard work but should be easy enough… NOPE!
I framed and marked the spot for the hole and started digging. Things went well for approximately 8 inches. At around 8 inches I encountered hard packed dry clay. This meant that for the next 20 inches down I had to water, pick and shovel this god awful stuff! It was very slow going but eventually I got past all the clay and found some easy to shovel sand that made the rest of the dig pretty easy. All said and done, the hole took my all day to dig.
Next up, building the tilt plate. This part was actually pretty easy as it only consisted of welding together some scrap angle iron, buying a couple nuts and bolts and using some of the angle to fabricate my own hinge mechanism.
Plan B.3 – Putting the tower together and raising it.


Below is our first attempt at raising the tower….
It’s a good thing the cable snapped when the tower was only a foot or two off the ground. This could have had disastrous results.
Next I grabbed a strong steel cable and replaced the weaker one with it and using the truck again began to lift and it appeared to hold. The setup we were using was to place two rings on the peak of the roof for the cable to run through. We connected one end of the cable to the tower about 2/3 of the way up and the other end to the trailer hitch on our SUV. We used 3 sections of steel cable clamped together at the ends to get the length we needed.
At this point we had to stop and using a ladder we pushed up and propped the tower to create slack in the cable so we could get the cable clamps through the rings. Then we continued to raise it.
Mission Accomplished! Now we just needed to grab the ends of G5RV and string them to an adjacent tree and to a vent pipe on the roof of my house in an inverted V fashion.
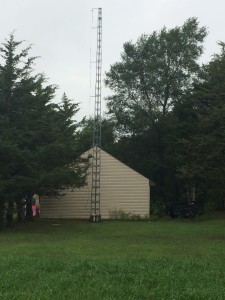
At some point the plan is to install some sort of crank mechanism for use to lower and raise the tower when needed.
Thanks for reading!
KE0BMA
 I’ve always loved storms, from as far back as I can remember so I finally decided that I should take the Skywarn Spotter Training class.